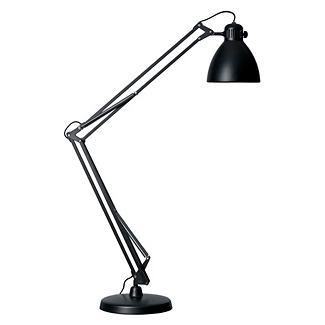
Materials: clay, posterboard, wire, clear bead, black paint, gloss, Elmer’s glue
Process:
- Cut a semicircle out of posterboard and a smaller semicircle out of that one, like this:

- Roll it up some to give it smooth flexibility.
- Fold the edge as shown in the diagram. Apply Elmer’s glue to this flap and clamp it to the other edge.
- Roll a 1/4 in. ball of clay, any color. Smash it down with your finger, and smooth the edges down some.
- Cut two inches of wire, somewhere between 14-18 gauge. Bend it in the middle to a little larger than 45 degrees. Stick it into the clay. Take care to think about the center of gravity. You will want the lamp to stand up, unless you plan to glue it down to the table. The angles should be something like this:
- Roll a small ball of clay for the tip of your cone. The tip is probably not very pointy. If it is, you can cut it off slightly. After it is baked, you will cut it in half and attach it to finish your cone.
- Put the clay base with wire and the ball of clay into the oven. Cook about 10 minutes at 275 degrees F, following the instructions on the clay.
- Cut the ball in half and glue it to the tip of the cone.
- When it is done baking and cooling, paint the base and the wire black.
- Paint the cone black, but not the inside. Leave that white.
- Glue a small clear bead into the inside of the cone as a light bulb.
- Use a small dab of Elmer’s glue to attach the wire to the cone, at whatever angle you want your light to face. Carefully hold it until it is mostly dry.

Thank you so much for the lamp tutorial. I love it. I will definitely make one.
You’re very welcome! I’m glad you enjoyed it.
Great tutorial, I love that lamp!